Synthetic turf seam ruptures (Seam separation) not only can be ugly, but they get worse over time. The longer you wait to repair a seam rupture the more repairs you will have to do. In time, the open seam will start to deteriorate from its edge and work its way into the remaining synthetic turf. Climate change can accelerate deterioration. When the seam rupture is exposed to UV Sunlight, extreme heat and thawing out from a winter snow, the edge of the seam rupture dries out, shrinks and the backing material starts its delamination process.

Seam ruptures can be mistaken for poor workmanship. Cutting the seam fibers can cause the seam to be visible and look like a seam rupture. When cutting the edges for a seam you must be careful not to cut any fibers. Making these mistakes by cutting fibers at the seam causes more infill to lay within the seam line and you will have to cut out damaged fibers and place synthetic turf strips for the repair.
TOOLS THAT WILL BE NEEDED FOR THE SEAM RUPTURE REPAIR

Shopvac
Using a strong shopvac will allow you to remove any infill that is present in the area of the seam repair. I recommend removing infill a minimum of 8” on each side of center of seam. This will allow the seam to be opened for workability.

SHARP CARPET KNIFE
Using a sharp knife to cut the synthetic turf strips allows the cut to be precise.

Hammer
I recommend using a hammer that has a small head. Using a hammer that has a large head will make it more difficult securing the synthetic turf strips with the small nails… “Remember you’re doing synthetic turf surgery”.

50 POUND INFILL BAGS
If you have a rupture of a seam in a playground or sports field, nails or any driven metal should not be used to secure the repair. Overtime the nails can work themselves out and may cause injury. I recommend placing 50 pound infill bags for compression on the center of the seam repair so that the adhesive will have a compressive bond.

SGW SUPERSEAM ADHESIVE
#1 Synthetic turf adhesive in the industry today

TAPE MEASURE

Nails
It is very important to secure the synthetic turf strips to the seam tape and adhesive for a compressive bond. I strongly recommend using a nail that has a small head. This will prevent trapping of the fibers. The nail is only used to provide a compressive bond while the adhesive is curing. I do not recommend using bags of infill to be placed on top of repair due to the excessive adhesive may come up through the repair.

SGW SEAM TAPE
Using a strong, well manufactured seaming tape is very important. Synthetic turf seams are only as strong as the products used to create them. I recommend using SGW seam tape. It is superior in strength and has a plastic film on one side to keep moisture from effecting the penetration of the adhesive.

PLASTIC DRY WALL SPATULA
Plastic drywall spatulas are an inexpensive way to evenly spread the Superseam adhesive without adhesive getting onto the fibers. I recommend using a 2” or 3” spatula when doing the repair. To evenly spread the adhesive to the correct amount, take scissors and cut 1/8” notches on the trowel side of the spatula.

STIFF BRISTLE HAND BRUSH
When you are placing the infill, using a stiff hand brush will evenly place the infill to make the seam repair disappear.

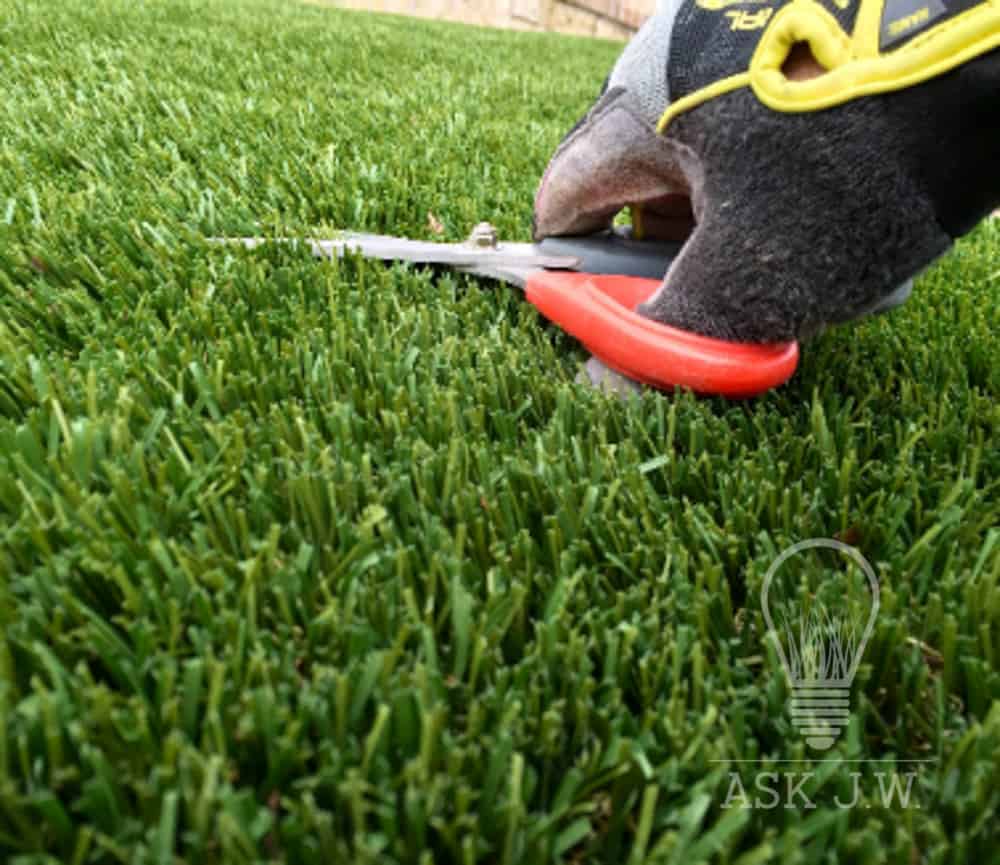
SCISSORS
You may need to use scissors to trim the backing of the synthetic turf strips to ensure a good fit.

INFILL
I recommend using new SGW infill when the repair is complete and cured.

SYNTHETIC TURF
IT IS VERY IMPORTANT THAT YOU USE THE SAME STYLE, SPECIFICATIONS, AND DIE LOT OF SYNTHETIC TURFS TO REPAIR THE SEAM. IF YOU USE A DIFFERENT TYPE OF SYNTHETIC TURF, THE REPAIR MAY NOT MATCH.
Let’s Begin


Step 1.
Locate the beginning and end of the damaged seam. Take a shopvac and vacuum out the infill approximately 12 inches on both side of the seam repair. It is important that you keep all infill away from the repair. Placing the adhesive with infill on the seam tape will not only be aggravating, but can cause future seam failure due to the infill preventing a strong bond.
If the seam rupture is small, fold back the fibers and vacuum enough infill out for the repair.

Step 2.
Fold back both sections of synthetic turf enough to have working room for the repair. You can use large nails to hold open the two sections for the repair. It is important to only fold back the distance of where you vacuumed out the infill. If you fold the sections past the vacuum line, the infill that was not removed will cause a ridge that will be very hard to even out after the repair.You may need to trim the edges of the existing seam to have fresh backing and fibers for the new repair. Vacuum out any excess infill and backing material that may have dropped onto your working area.

Step 3.
Measure and write down each length of the ruptured seam. Measure and write down each “gap width” of each seam separation. You will need these dimensions for STEP 4.


Step 4.
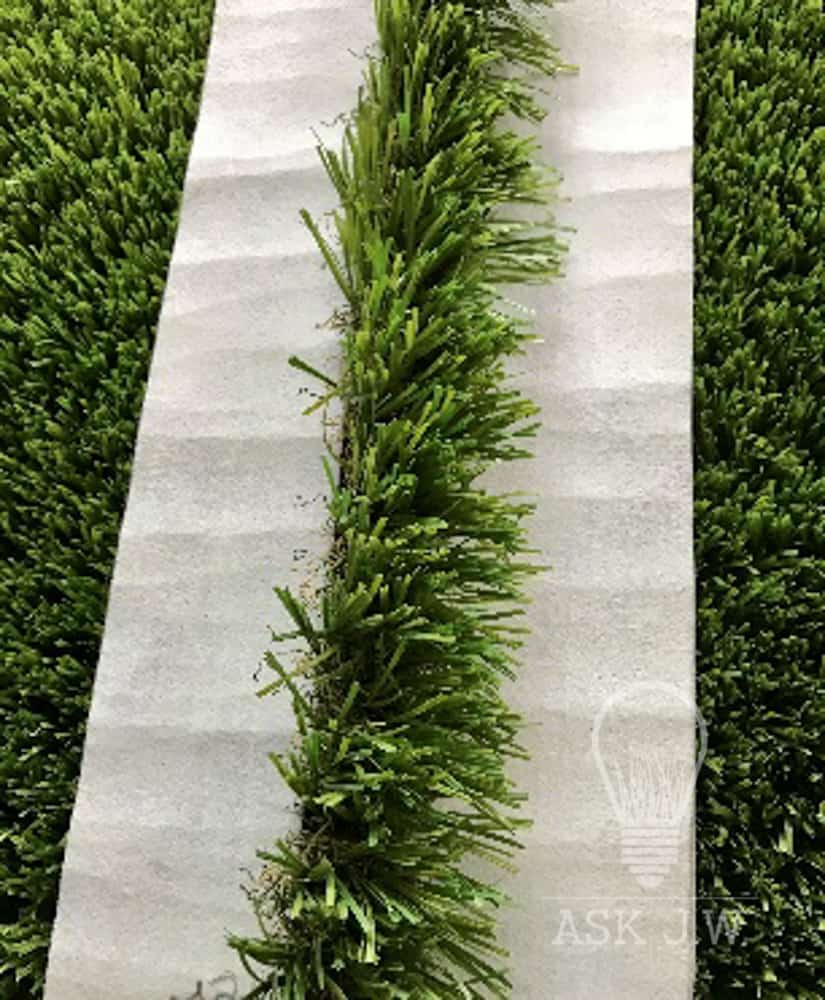
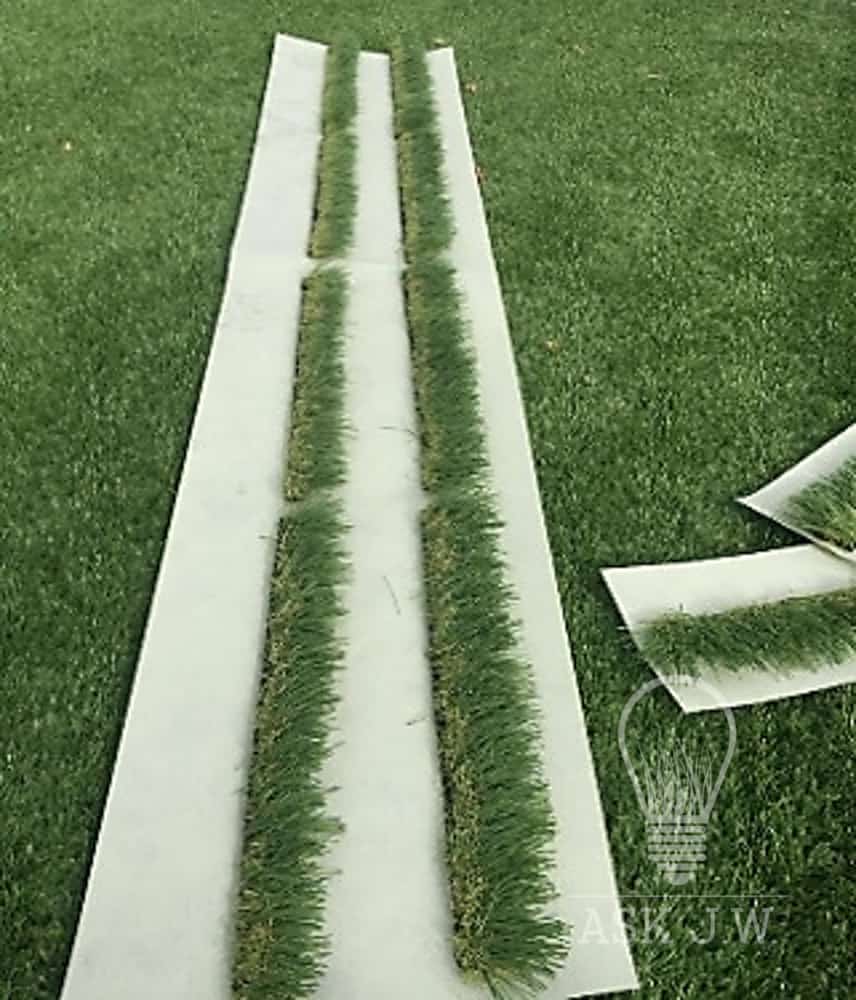
Roll out SGW Seam tape to the length of the repair. Depending on how wide and long the seam rupture and separation is, cut strips for the repair a minimum of 6”.

Step 5.
When the seam tape is cut to desired length and width, Take a straight edge and mark the center of the seam tape strip. This will give you a “glue line” to adhere the synthetic turf strip to the seam tape.


Step 6.
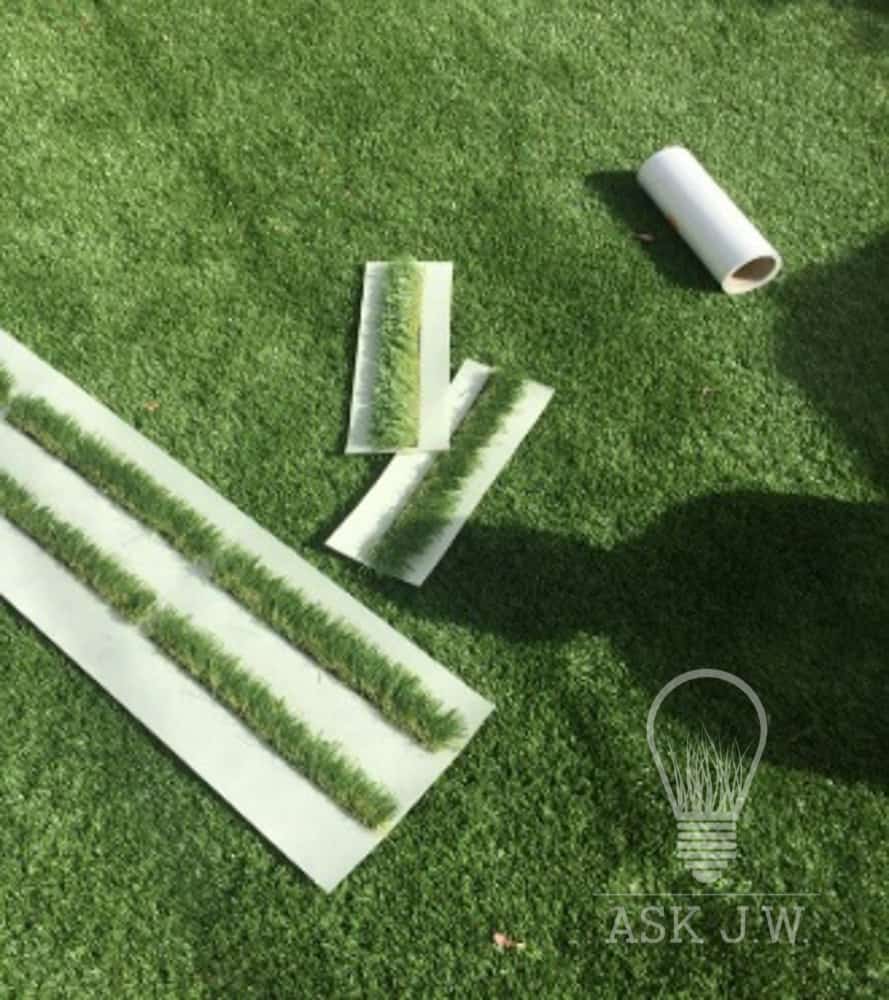
Flip synthetic turf over so that the backing is face up. Cut the desired dimension of the gap of the seam separation by cutting down the middle of the gauge. (Lines/rows of tufted fibers on backing of synthetic turf). I recommend cutting close to the outer gauge of the strip that you are cutting. The closer you cut to the fibers the less the bond you will have for your repair. Leaving excess backing material will give the repair a stronger bond.
Step 7.
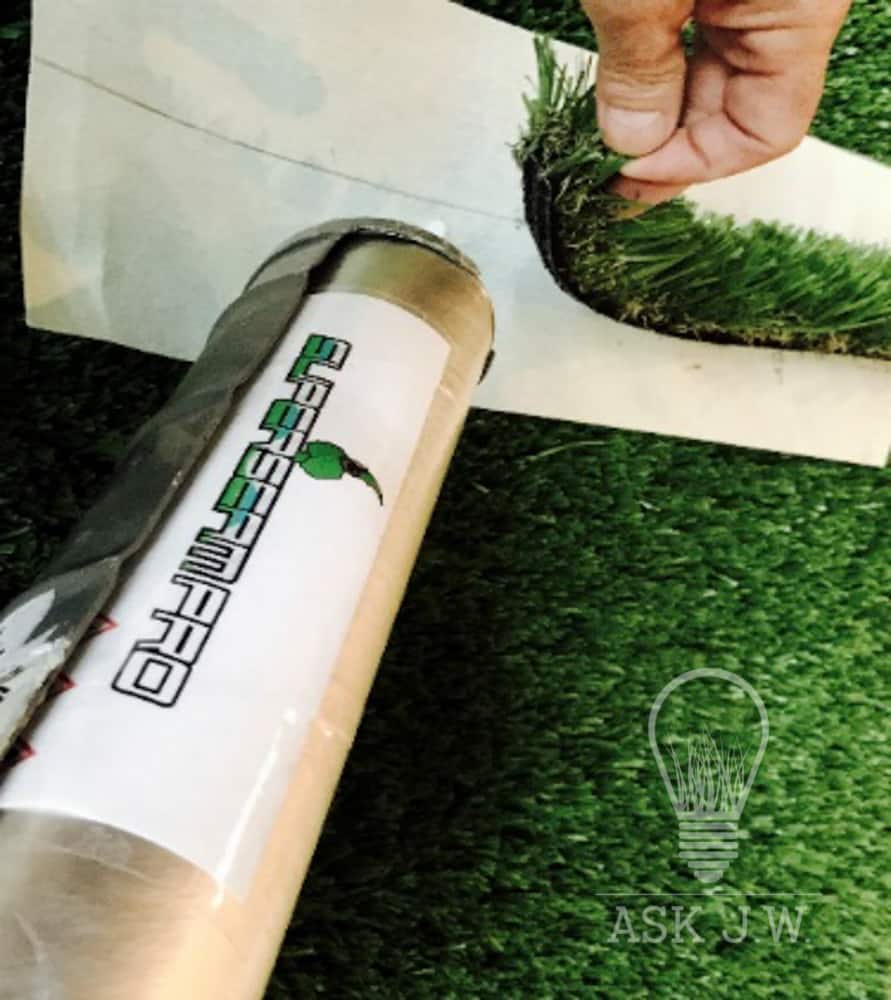
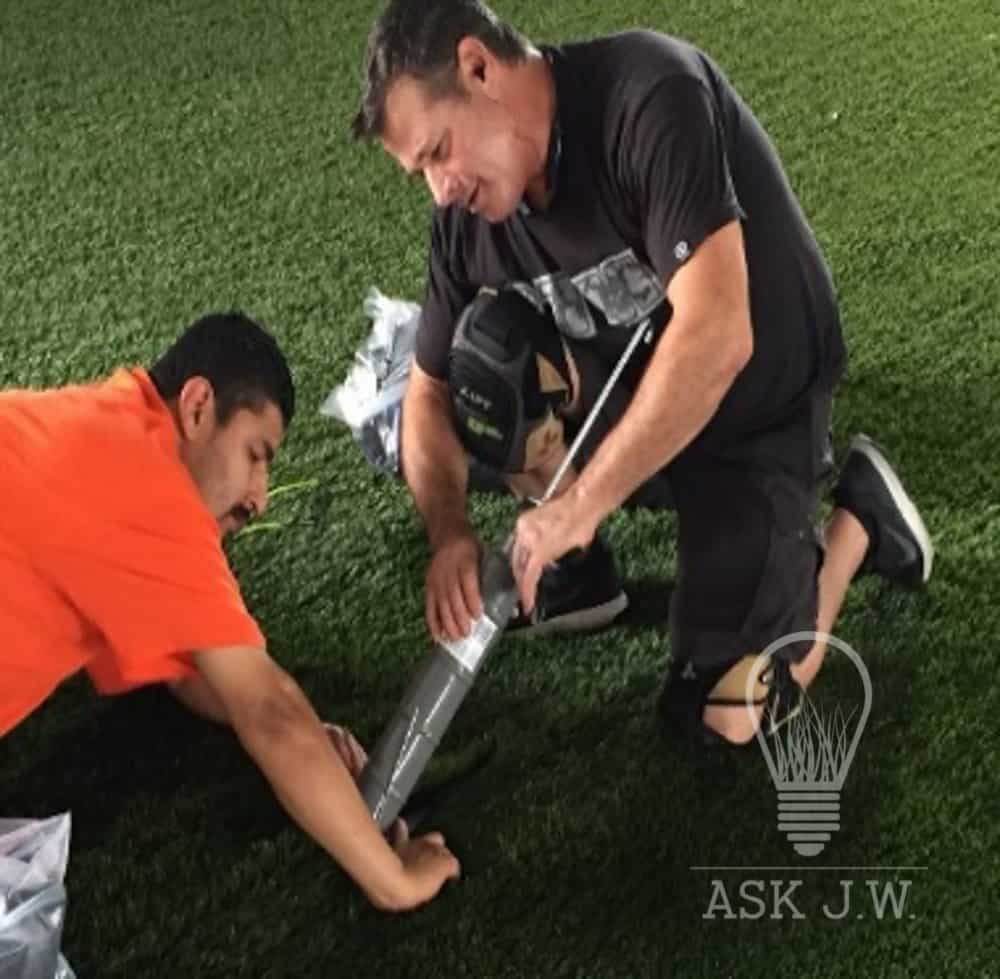
Place Superseam Pro adhesive approximately ½” wide and ½” tall on the center marked line of the seaming tape. I recommend using Superseam Pro in the cartridge, it makes placing the adhesive easier and will prevent the adhesive getting on the fibers. Place the turf strip on the center line adhesive and compress until the adhesive is cured.

Step 8.
Once the turf strips are bonded to the seaming tape, place the turf strip in between the two sections of existing synthetic turf. This will be the time that you will need to trim any excess of synthetic turf backing to ensure a proper fit. If the fit is too tight it will create a Mohawk and the repair will be visible. Secure the turf strip to the subgrade to secure in place. Make sure you use small 3 ½” nails. I recommend NOT using large nails when doing small repairs. Using large nails might chance hitting rocks below the seaming tape and cause the repair to shift.

Step 9.
Once the turf strips are secured in place, fold back the two sections and carefully place adhesive covering the remainder of the seaming tape at a minimum of 1/8” inch thick. Be careful not to get adhesive on the turf strip fibers. If you feel that you cannot achieve placing adhesive without getting it on the fibers, then I recommend placing “Blue Painters Tape” on the turf strip to protect it from the adhesive.

Step 10.
Fold both sections of turf slowly to the center of the turf strip. I recommend having assistance when placing the two sections into the turf strip. The more help you can have the better. Once the two sections are in place run your hand down the center of the repair and compress the sections to the seaming tape.

Step 11.
Secure repair with small nails for compression.

Step 12.
I recommend all seam repairs to be infilled by hand. Placing too much infill can separate the seam by trapping the fibers. Take a large cup and place infill and rub infill in by a small hand brush.

Step 13.
After all the infill is in place I recommend using a power broom and brush up the surrounding synthetic turf to blend in the repair. Be careful not to power broom crossways against the repaired seam.
Step 14.
Trim any excess fibers that are sticking up from the repair.
Separated seams that have lifted due to poor installation or bad adhesive can be cleaned out and repaired. If the gap between the two sections of the seam has not moved then you may inject adhesive and secure to make the repair.
SPORTS FIELD & PLAYGROUND SEAM RUPTURES

If you have a seam rupture in a playground or sports field, nails or any driven metal should not be used to secure the repair. Overtime the nails can work themselves out and may cause injury. Adhesive and compression is the only way to properly secure the turf strips in a sports field or playground.

I recommend placing 50 pound infill bags for compression on the center of the seam repair so that the adhesive will have a compressive bond. It is important to avoid placing weight more than 50 pounds. Placing too much weight can cause the adhesive to be pushed up through the repair and bond to the fibers. Placing more than a 1/8” of adhesive will also cause problems with the adhesive being compressed and up through drainage holes and fibers.
Stay tuned for what the New Year has in store for “Ask J.W.”
For more information contact J.W. askjw@sgwcorp.com or call 888.846.3598
Other Topics:

About SGW
Learn more about SGW

Certifications
IPEMA, Lead-Free, and CAD Details

Warranties
Our Industry Leading Warranties

Ask an expert
See if we’ve answered your questions

Media
Our tried and true steps for installation

Blog
Learn about our turf in depth
Here to help
Our Commitment
We are committed to providing the best artificial turf products at competitive prices. Our warehouse carries the most advanced synthetic grass products available, engineered to look and feel like real grass. Every turf product is made with high quality materials that are safe for everyone, especially children and pets.

Industry Leaders
SGW Denver has always stood out among competitors, offering new products with the latest technology.

Service Oriented
The only thing better than our grass is our customer service. Our staff is committed to providing the best experience possible for our clients.

Quality Driven
At SGW Denver we only offer products that maintains a high standard of quality. Backed by up to a 15 year warranty, the best in the industry.

